简介
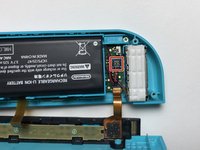
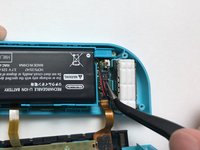
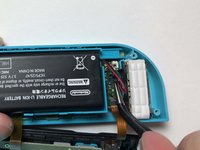
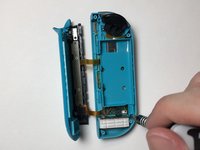
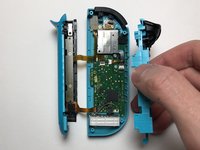
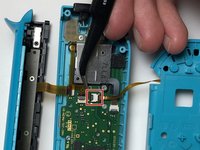
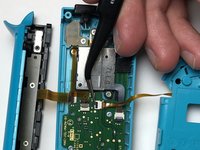
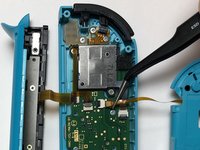
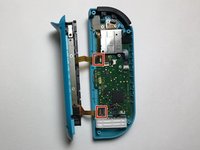
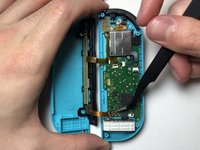
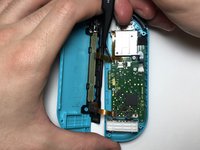
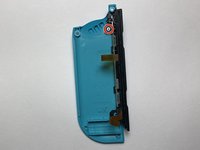
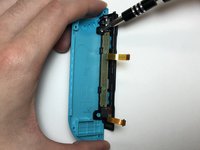
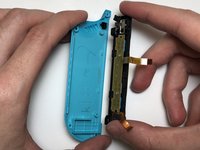
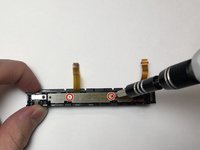
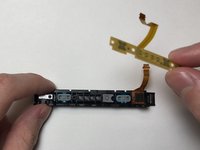
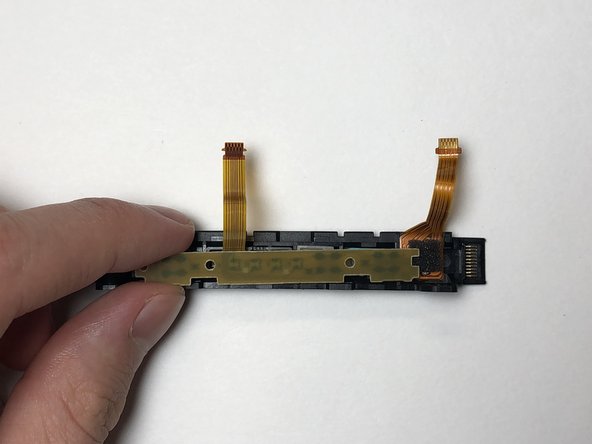
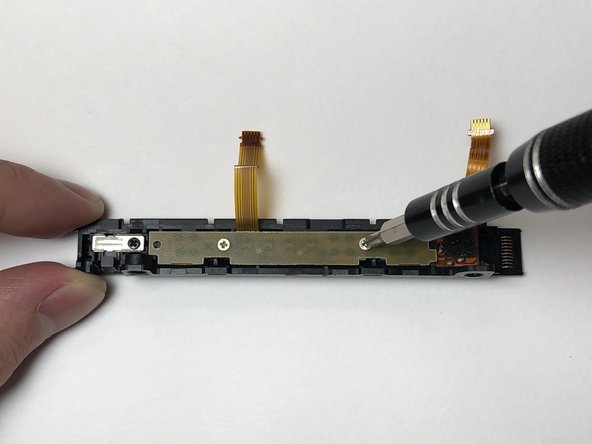
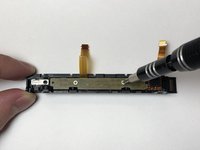
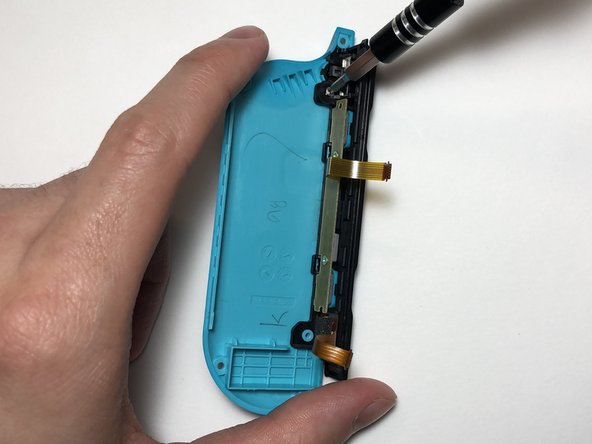
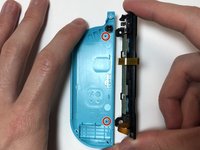
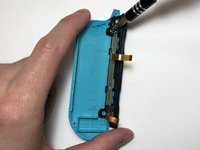
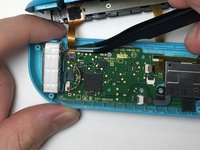
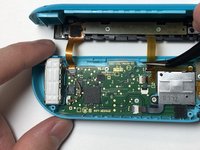
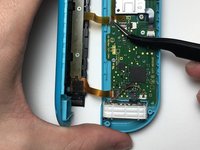
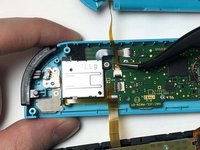
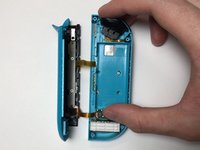
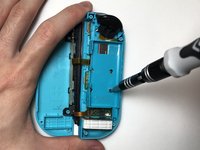
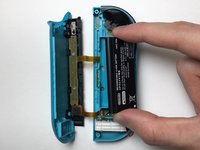
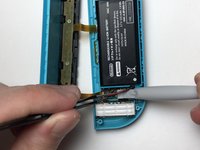
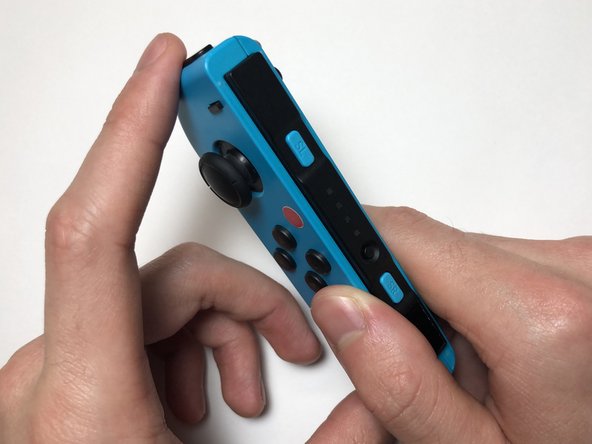
充电导轨损坏会导致无法直接连接任天堂 Switch 控制台或无法为 Joy-Con 充电。本指南将告诉您如何更换左 Joy-Con 控制器上的充电导轨。
在使用本指南之前,请检查充电导轨上是否有可能弯曲的针脚,并将其折回。如果可以的话,请测试 Joy-Con 是否可以从外部电源充电,或者检查问题是否确实出在任天堂 Switch 控制台上的传感器导轨上。
如果问题出在任天堂 Switch 传感器导轨上,请按照本指南进行操作:[guide|113429]
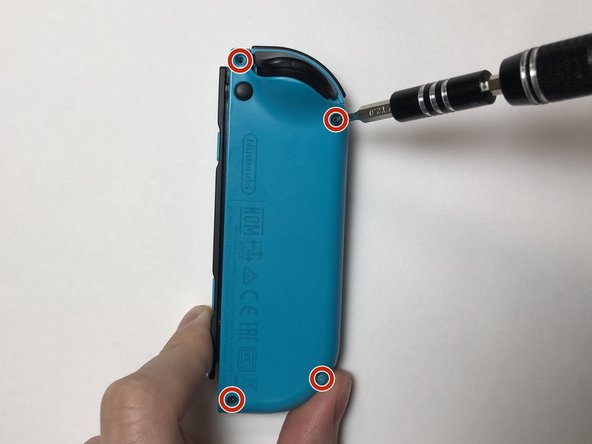
你所需要的


44等其他人完成本指南。


团队

York University, Team S1-G14, O'Regan Summer 2021 York University, Team S1-G14, O'Regan Summer 2021 的会员
YORK-O'REGAN-SU21S1G14
1 名成员
创作了8篇指南
17指南评论
I did this and still doesn’t work. I also changed the rail on the console side too. Very carefully of course. Any ideas?
Hey Luis,
Can you give me more detail on the problem? Like is the Joy-Con not being detected when it’s plugged in or is it not charging. If possible, can you test the console rail with a working Joy-Con?
If the Joy-Con is not charging, it could also be a battery problem. If you are comfortable with it, I would suggest swapping out the battery with a working one from the other Joy-Con to see if it solves the problem. You should probably attempt this after double-checking the connections for potential tears or if the connectors are too loose in the sockets.
Hi, I need help. My left Joy-Con is not charging because of the ZIF connector for the charging rail ribbon has been detached and I have lost it. Is there a way to fix this problem?
Honestly, I would recommend replacing the entire Motherboard, unless you can find a trusted repair shop to solder it on.
I damaged the ZIF connector for the battery on my Switch. It works with some pressure and perfect alignment, but I've had issues ever since I damaged it during repairs :/
I'm going to swap it with a functional motherboard, I would advise you do the same.
Hello need a little help. the ribbon cable will not stay connected. and it will not charger. Any thing will help.