简介
本指南将帮助你清理你的配水软管。得到你需要的是一个# 1飞利浦螺丝起子软管。
你所需要的
-
-
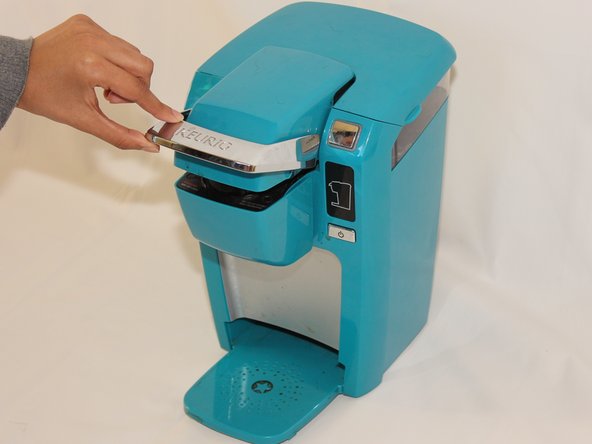
打开 Keurig 的顶盖。
-
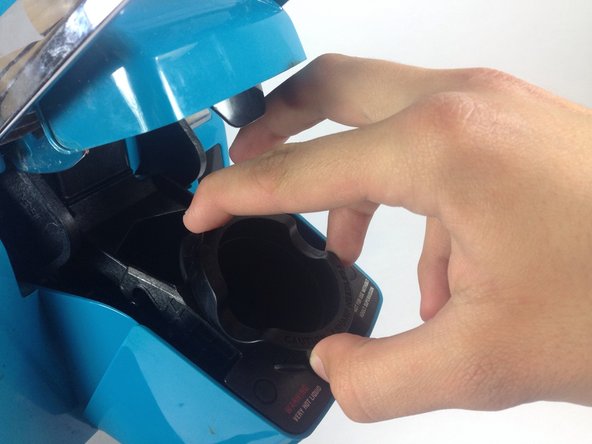
用手抓住顶盖的其中一个连接臂直接向外拉。 这将需要大力一些,以挣脱插销。 一侧的连接臂脱离后,另一条连接臂也重复这个过程。
-
-
-
-
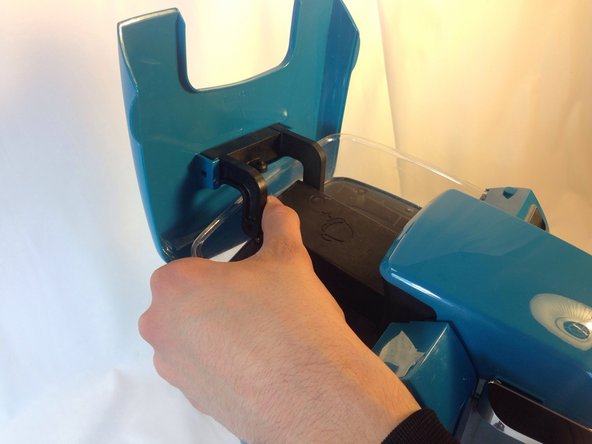
举起的Keurig迷你臂得到它的方式。
-
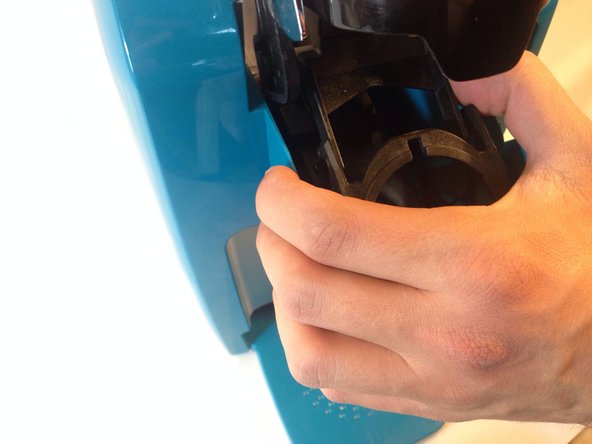
把水管在其基础而捏紧。
-
在保持管子压力的同时,用手指滑动直到尖端挤出任何堵塞软管的材料。
-
重复这个过程,直到所有的障碍被移除。
-


将您的设备,遵循这些指示,以相反的顺序。
将您的设备,遵循这些指示,以相反的顺序。
38等其他人完成本指南。

团队

Cal Poly, Team 17-1, Forte Winter 2014 Cal Poly, Team 17-1, Forte Winter 2014 的会员
CPSU-FORTE-W14S17G1
5 名成员
创作了17篇指南
42条评论
To clear the hose I needn't have gone beyond step 9. Once the hose is detached one can run a pipe cleaner down it. I was amazed how many coffee grounds were stuck way up there where there shouldn't be any!
A tip would be to use a magnetized screwdriver: I was worried that the screws would fall into the workings of the machine.
For the final step of reattaching the lid, having a second person would help or perhaps holding it between your knees might help - trying to apply pressure to the screws also made the arms/compartment want to collapse/ close so that was a bit of a challenge.
Very informative instructions and I now have a Keurig that works again!! :)
Thumbs up on the magnetized screwdriver tip
M A -
The screws are stainless steel and are thus not magnetic.
jastpeel -
The screws were magnetic for me.. they are probably a carbon steel Or galvanized. They aren’t stainless.
Amanda T -
While you have your brewer this far apart it would be wise to take a small wire or even a sewing needle and run it down the slightly squared, open side of both of the Keurig needles. You'll be surprised at how grounds have gotten in there and slowed the flow of output liquid, mine flows like a new one again.