简介
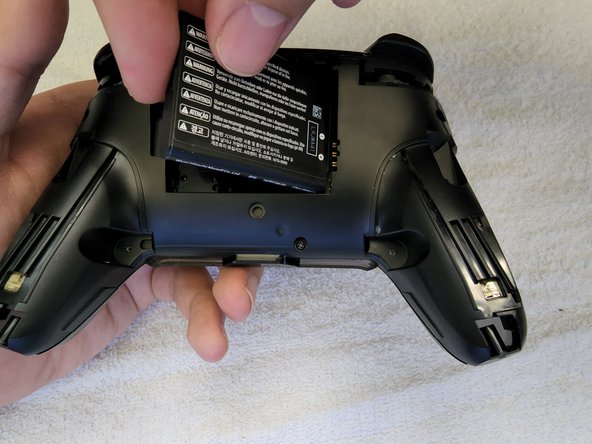
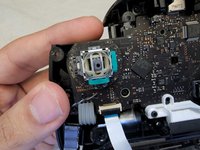
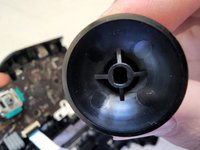
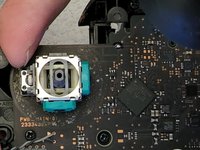
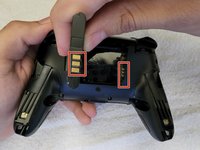
如果你恰好看到了这篇指南,那么可能你的Nintendo Switch Pro手柄出现了一些小问题。也许你控制的人物会朝着相反的方向移动。也许你的人物在你压根没碰手柄的时候自己动了起来!如果是这样的话,你也许遇上了一些游戏爱好者口中的“摇杆漂移”,这是由附在摇杆中的尘埃和小碎渣导致的。
当你的手柄和你作对的时候,你很难享受游戏带来的快乐。也许此刻有个念头正在诱惑着你:扔掉这个手柄,然后买一个新的吧!但是一个新的Pro手柄零售价高达70美元左右!
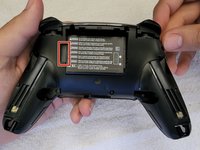
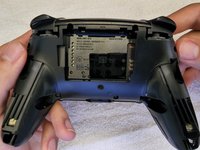
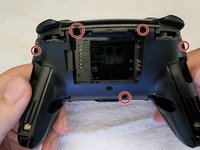
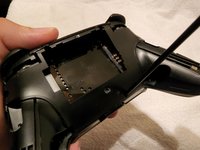
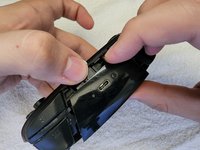
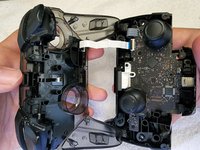
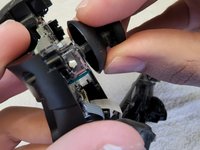
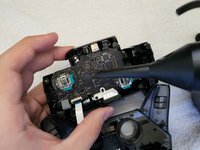
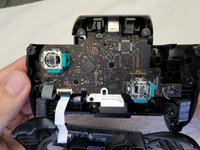
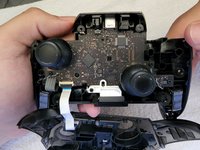
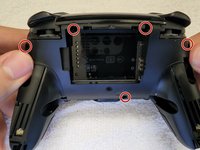
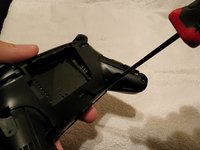
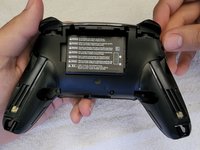
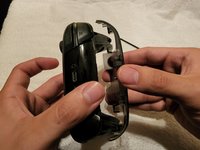
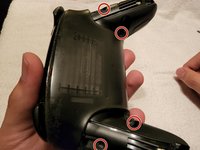
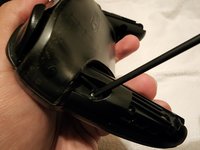
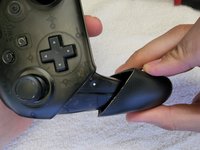
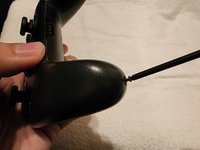
幸运的是,治摇杆漂移有个相对简单的法子。这个解决方案包括拆开它并清理摇杆内部。这篇指南将会向你展示如何干净利落地完成以上工作。
你所需要的


在完成这些工序后,你的手柄会比以前更干净。你的手柄应该不会出现漂移而且工作得和任何一个其他70美元的手柄一样好!
如果你仍旧发现你的手柄有摇杆漂移,那么你的手柄摇杆存在物理上的缺陷。在这种情况下,你可以选择自行更换摇杆。你可以在网上找到可替换部件,但是为了安装摇杆,你得学会如何焊接。
在完成这些工序后,你的手柄会比以前更干净。你的手柄应该不会出现漂移而且工作得和任何一个其他70美元的手柄一样好!
如果你仍旧发现你的手柄有摇杆漂移,那么你的手柄摇杆存在物理上的缺陷。在这种情况下,你可以选择自行更换摇杆。你可以在网上找到可替换部件,但是为了安装摇杆,你得学会如何焊接。
58等其他人完成本指南。

团队

CSU Los Angeles, Team 4-67, Briggs Spring 2022 CSU Los Angeles, Team 4-67, Briggs Spring 2022 的会员
CSULA-BRIGGS-S22S4G67
1 名成员
创作了8篇指南
13条评论
Excellent. Really clear guide. Thank you so much
Worked like a charm! Thank you!
My controller has been having this issue, I've been opening it up and dusting the stick, but that only temporarily fixes this issue. I am considering replacing the stick module, although I am a bit worried that something else is causing drift. Its possible that the shell or upper stick part has worn out or has some sort of opening which is allowing dust and other particles to get into the stick. Any advice?
This is the first thing I have used my iFixit kit to try and fix and it worked perfectly. Thanks for a very helpful and clear to follow guide.