-
-
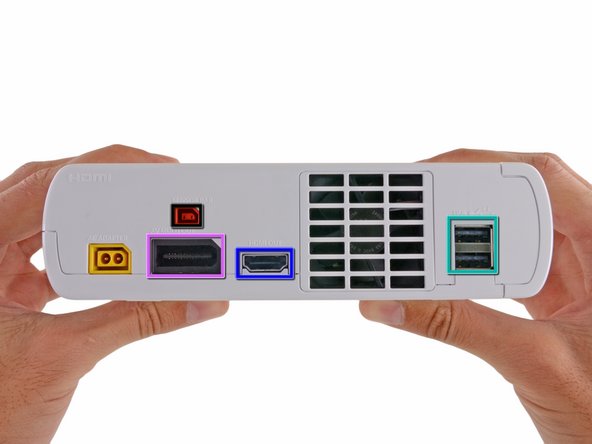
是的,我们喜欢拆解设备。但办公室周围的电视坏了,Wii Remote也因为事故而失控。现在是时候探索其他的了,还有是什么比Wii U更好的?
-
基于IBMPower®的多核处理器
-
基于AMD Radeon的高清GPU
-
8 GB或32 GB内部存储,支持外部USB存储器和外部USB硬盘
-
6.2英寸,854 x 480像素LCD触摸屏,带有体感和前置摄像头
-
NFC功能支持
-
-
-
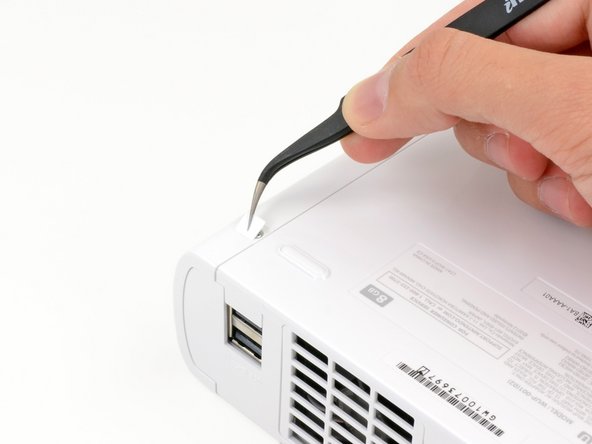
从现在来看,Wii U非常简单,但不乏螺丝。没有什么粘合剂将U粘在一起。到目前为止我们遇到过Phillips十字螺丝和Tri-wingY型螺丝。
-
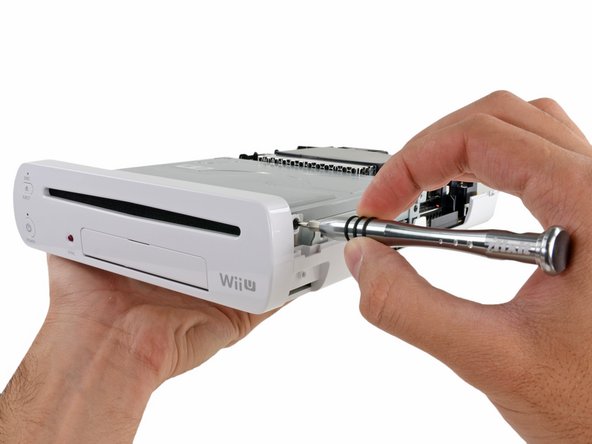
拧下两侧螺丝后即可去除前面板,注意排线。
-
-
-
来近距离看一看这些无线模块。
-
Broadcom BCM43237KMLG 无线局域网模块
-
Broadcom BCM43362kUB6 802.11n 无线局域网模块,和Roku 2 XS使用型号相同
-
Broadcom BCM20702 蓝牙4.0模块
Which Module is used for the gamepad?
I think that BCM43362KUB6 is actually BCM43362KUBG
I am looking for a way to play wii u without the high frequency radiation. Can i play wii u without the wireless modules, e.g. only with "wii u pro controller" and for internet a "lan adapter"?
A 5ghz WiFi signal and Bluetooth 4 do not cause any harmful ionising radiation. Only radiation found in microwaves, x rays, solar rays and other frequencies higher than light are.
if you think 5ghz is “high frequency” red light has a frequency of 430,000ghz. A red led does more than WiFi, its safe to take of the foil hat and go wireless :)
ysittas -
-
-
-
-
继续回到主板上,我们用热风枪来加热、移除CPU/GPU整合芯片上方的顶盖。上面都覆盖了充足的导热硅脂。
-
GPU: 基于AMD Radeon™的高清GPU
-
CPU: 基于IBM Power®的多核处理器
-
可以看出任天堂通过将芯片设计为整合方式来减少功耗和彼此的干扰。
what temperature must the head gun be set to? and what kind to spudger must be used to do it?
-
-
-
IC U! 主板上值得注意的IC:
-
松下 MN864718 HDMI 控制器
-
三星 KLM8G2FE3B eMMC 8 GB NAND闪存以及控制芯片
-
美光 2LEI2 D9PXV [产品编号MT41K256M16HA-125] 4 Gb DDR3L SDRAM 内存(共四块,构成了换算后共2GB的RAM内存)
-
DRH-WUP 811309G31 日本产贴片式功率电感
-
仙童 DC4AY
-
SMC 1224EE402
-
三星 K9K8G08U1D 4 Gb (512 MB) NAND闪存
I'd just like to point out that the LCD screen on the gamepad isn't fused to the digitizer like it says above. It is actually attached with an adhesive strip that can be removed easily with a spudger.
My gamepad was dropped and the LCD screen shattered, but the digitizer was fine. So, I was able to order a new LCD screen (from eBay), tear down the gamepad, separate the broken LCD from the digitizer, reattach the new screen to the digitizer (using the existing adhesive strips) and it works like brand new.
Nintendo has done a great job making this gamepad easily repairable.
As pointed out here the NAND chip isn't 512MB (4Gb) but 2x512MB (for a total of 8Gb). I've submitted an edit to step 12.
-
-
-
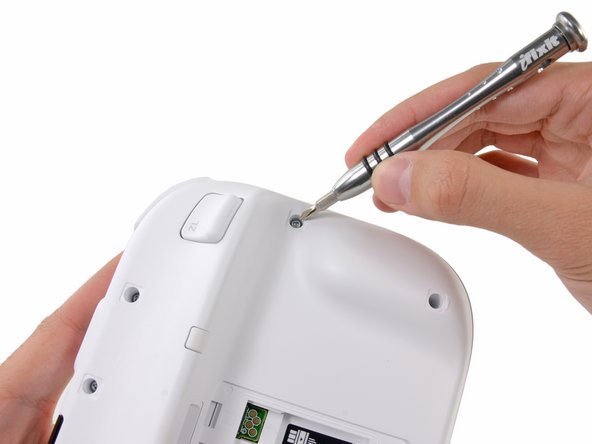
任天堂还是把螺丝藏在了双面胶贴纸下面,哼,以为我们找不到吗,螺丝仍然隐藏在明显的视线中。
-
平板手柄上的螺丝还是我们熟悉的Y型螺丝和普通的十字螺丝等,但是螺孔很深,所以注意用长度足够的起子来拆卸。
Hey @captainsnowball please leave teardowns as they are. They’re more a historical archive of an event than a repair manual. If you click the link to the 54-bit driver, it will automatically take you to the 64 bit driver kit.
To answer your question, most likely, but I’m not sure.
No. The tri tip bit from the 64bit kit does NOT reach the recessed screws. Feel like I just wasted my money.
-
-
-
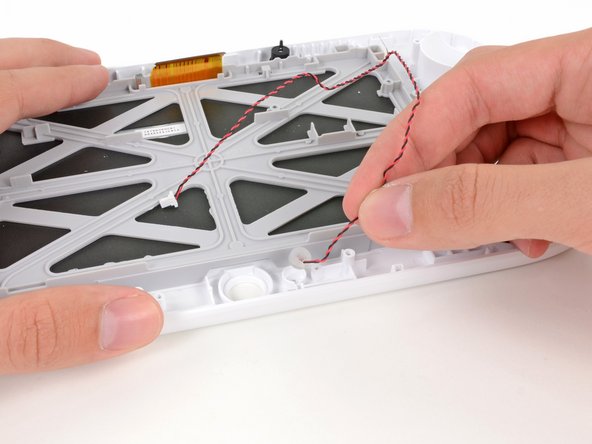
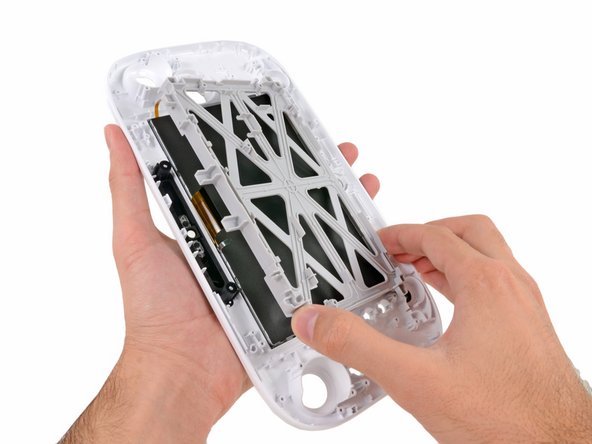
这样平板手柄所有的部件就大白于天下了。
-
Wii U的巨~大手柄设计时考虑到了在控制体积的同时,还结合手感和触摸屏要素,同时容纳电路元件。
-
不过令人惊讶的是它内部竟然大部分是空的……显然是为了整体体积故意为之。
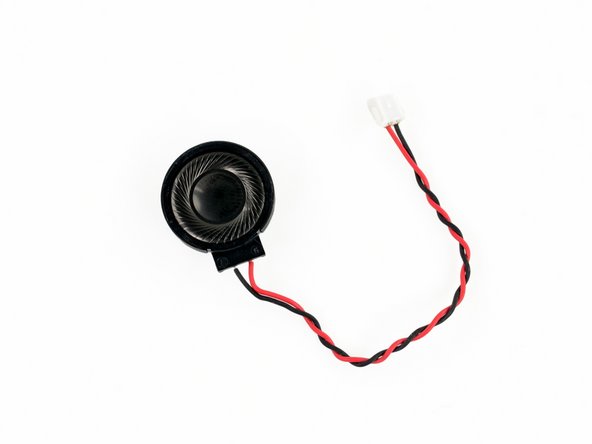
What is the wire connecting From the back panel to the mother board and how would I go about replacing it?
Mark Brown - 回复
-
-
-
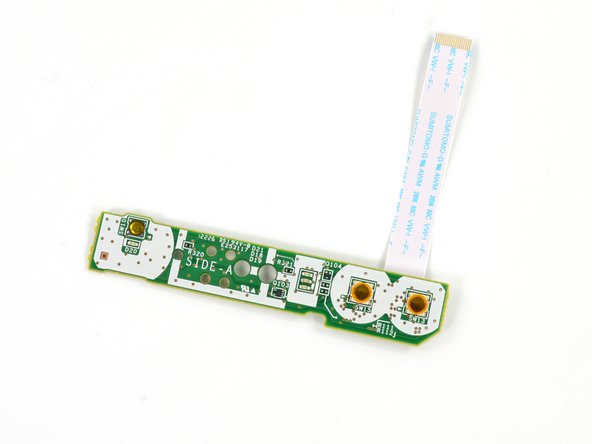
白色的按键扣被蓝色排线包裹,而下面是ABXY按钮。
-
接着我们就能看到两个模拟摇杆之一了。
That type of molex connectors do they use to connect the analog sensor board to the main motherboard used in the tablet
The type of 5 pin molex connectors does Nintendo use to connect the analog sensor board to the motherboard on the Wii U tablet.
-
-
-
接下来是NFC模块和天线。
-
NFC模块上有两个非常突出的控制芯片:
-
Broadcom BCM20792 KMLG NFC控制器
-
T130 MsEU晶体振荡器
“In the future, we might see loading saved games or importing characters from cards or action figures.”
This statement aged like fine wine.
-
-
-
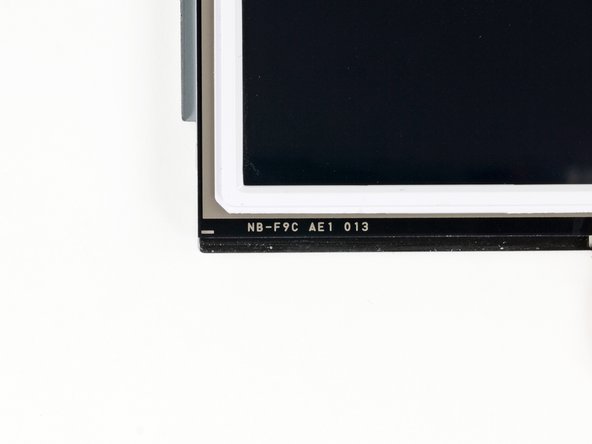
然后我们就可以看到屏幕以及触摸面板本体了。
-
对拆机爱好者来说这里有个好消息,任天堂在触摸屏部件上没有像某些智能手机那样采用了四周不干胶黏合的设计,而是触摸屏和屏幕一体结合,可以有效的防止触摸屏内进灰。
-
但是屏幕和数字转换器是一体的。
-
触摸屏套件编号为NB-F9C AE1013。
The LCD and Digitizer are definitely not fused. There is a layer of rubbery adhesive around the outside edge of them, holding them together, but no heat was even required to remove it. Source: Just fixed one my kid broke.
-


18条评论
Sweet as usual
Next can we get the pro controller torn down, have mod want do when i get my wiiiiiiiiiUUUUU
BUT Depends on pro controller circuit board.
Scooter200 - 回复
I just SUCCESSFULLY finished a drive swap with an eBay replacement.
YOU DO HAVE TO SWAP THE OLD LOGIC BOARD FROM THE BROKEN DRIVE TO THE NEW DRIVE. If you don't you will get the error code 160-1402.
It's not bad. Just remove the 7 screws to release the assembly from the bottom cover.
The logic has a small sensor board (?) hard wired to it. Remove the screw that holds it in place and replace with along with the old board.
There are 4 tape cables. the wide one has a clamp connector. the others can be seated with tweezers.
The card is loosely held in place with a black tab in the front and a movable, silver tab in the back.
Low humidity areas please use a ESD armband. it is a logic board. Or just handle the outer edge of the card and nothing else.
On more thing. The tape cable from the assembled drive to the Wii U is directional. Meaning the cable needs to attached exactly the way it came out or you will get the 1400 error.
Worked for me. Hope this helps
Just wondering what part of the control has the region lock? i have a brocken pal and a new ntsc controll my joystick and lcd are brocken on the pal control
Gohe Chris - 回复
I just replaced the LCD the other day and the digitizer simply peels off.
ccfman2004 - 回复
Ok so I took my wii u gamepad apart to fix the screen my daughter broke. However when I put it back together the wii u battery decided it didn't work anymore I tried everything I could finally I decided it could just be the battery so I ordered a new battery but sadly it is still not working please help I'm trying to fix it for my kids before Christmas they love the wii u.
Anyone could tell me what is the resistance values of r30,r29,r28,r31 and r27 , next to of emmc memory , i appreciate all your help , thanks:
How do you place back the volume switch?? Correctly
Which one of these is for the module for control pad?:
Broadcom BCM43237KMLG Wireless LAN module
Broadcom BCM43362KUB6 802.11n Wireless Module—the same one used in the Roku 2 XS
Broadcom BCM20702 Bluetooth 4.0
The wireless n chip, Broadcom BCM43362KUB6
The module for gamepad is the model: MIC-B2 (5GHz) (BCM43237KMLG).
The module for wifi is the model: WIN-A2 (2.4GHz) (BCM43362KUBG).
The module for bluetooth is the model: WIN-B2 (BCM20702).
Es posible aumentar la memoria ram?
jjsalazarn - 回复
No, no es posible aumentar la memoria RAM, son chips soldados en placa sin modulo de expansión. Lo único que se puede aumentar es la memoria FLASH mediante tarjeta SD, que permite mayor capacidad para instalar juegos.