简介
能听到声音吗?"不能"听到声音吗?用这条指导来交换你MacBook Pro 15" Retina 显示器2015年中期版本的右侧扬声器。
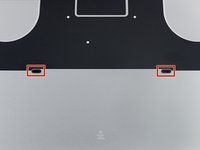
注意左侧扬声器是当你使用机器时指位于右侧的扬声器,当你对它进行修理等操作的时候它是在你的左手边的。
你所需要的
-
在这个步骤中使用的工具:Tweezers$4.99
-
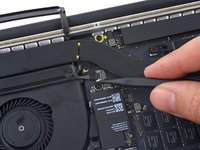
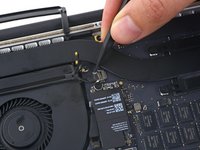
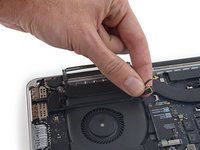
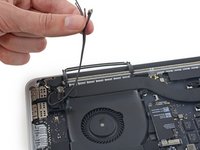
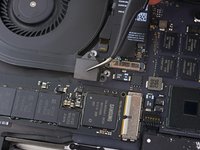
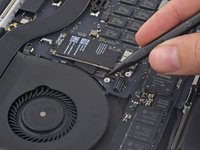
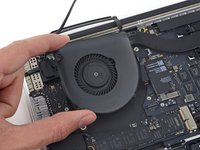
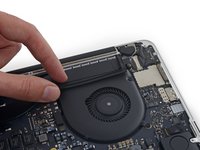
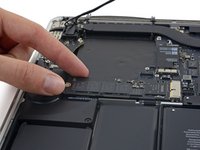
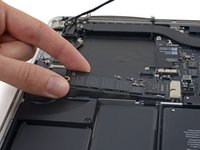
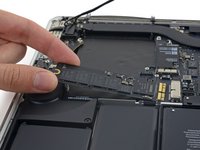
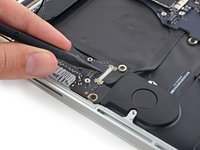
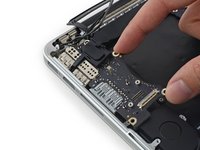
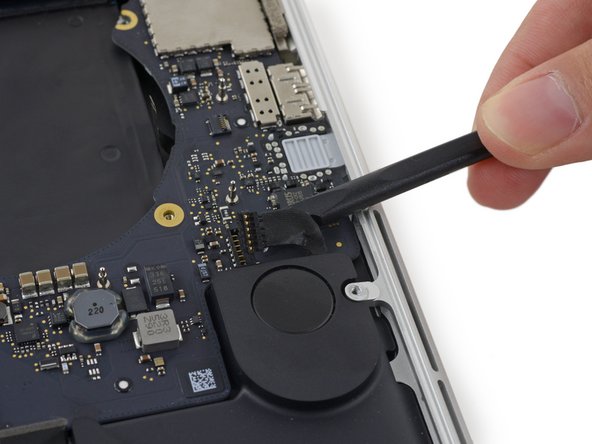
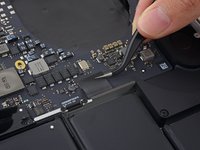
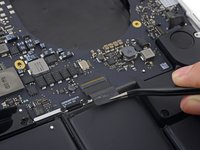
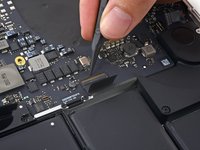
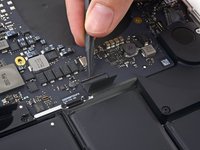
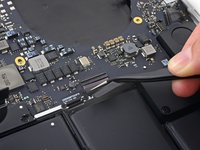
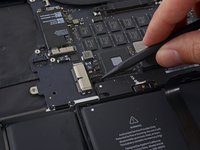
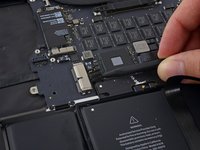
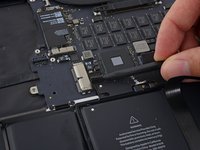
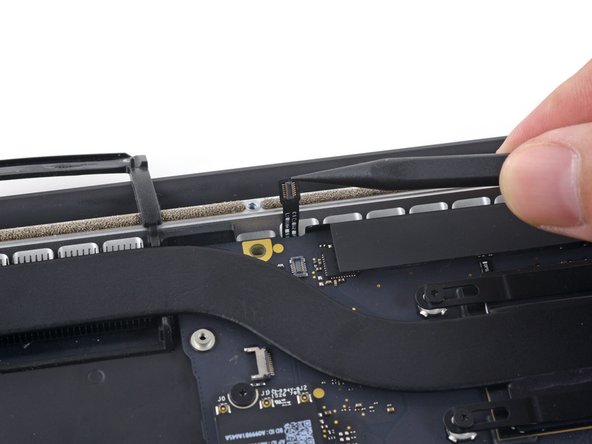
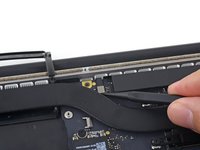
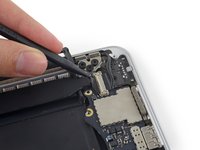
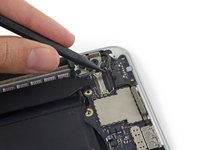
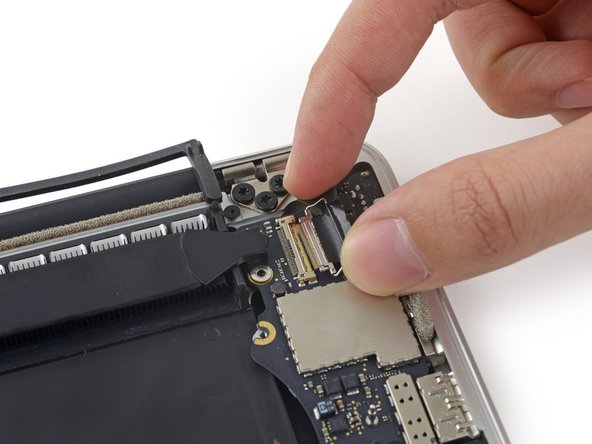
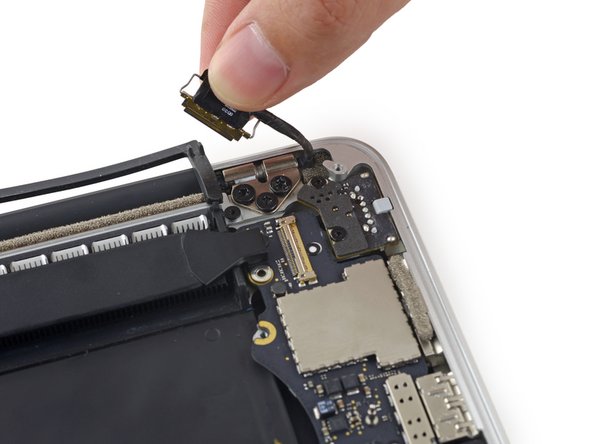
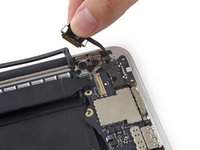
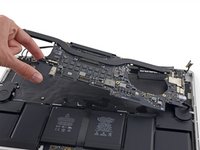
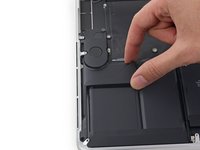
使用刮刀或镊子将三根 AirPort 天线线缆从 AirPort 板上的插座中撬起,并将其向上弯曲,使其不碍事。
-
-
-
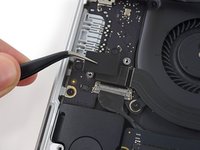
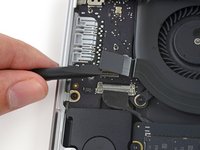
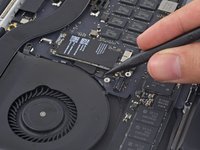
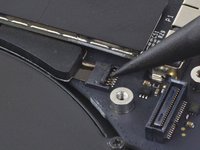
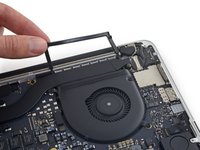
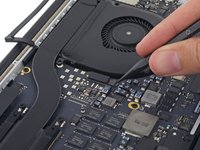
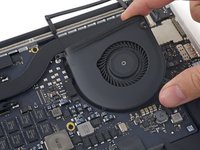
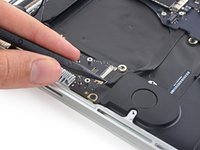
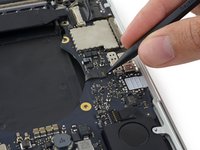
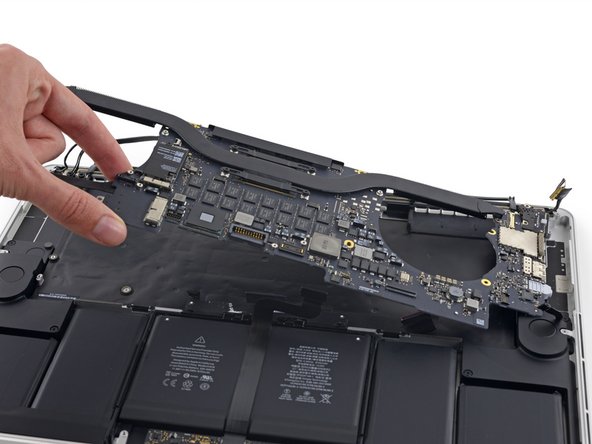
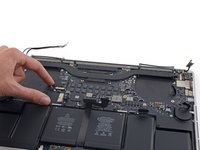
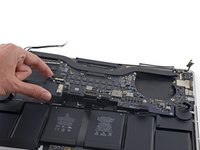
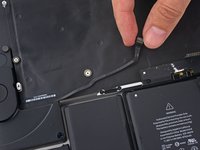
使用 T5 梅花头螺丝刀卸下将右风扇固定到主板上的以下三颗螺钉:
-
一颗5.0mm T5 内梅花头螺丝,带2.0mm内柱。
-
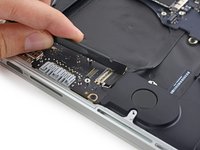
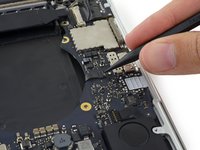
一颗4.0mm T5 内梅花头螺丝,宽螺丝头。
-
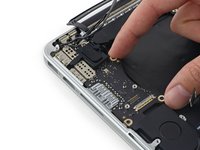
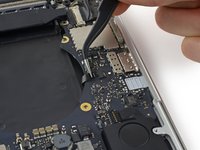
一颗4.4mm T5 内梅花头螺丝。
-
-


若要重新组装你的设备,以逆序方式执行这些说明。
120等其他人完成本指南。


40指南评论
My Mac book pro 15” Mid 2015 got the right side speaker issue. I have ordered the speaker from iFixit and I am able to replace the speaker by following the steps given above. Thanks to iFixit.
Is there any way replace right speaker without remove the mainboard? Can we cut off the cable socket of fail speaker to get speaker out without remove the mainboard, and then when reassembling, we put the cable wire lie on the mainboard?
Thank you!
Tai Le.
I know this is 2 years too late probably, but you can by removing just the IO board and a few screws from the right side of the motherboard. You should be able to flex it enough without damaging it to gently pull the speaker cable out from under the board.
Zach -
thanks zach. was super easy this way.
Chris J -