简介
使用本指南来为您的 Mac Mini 2012 晚期款 安装双硬盘模组
你所需要的
-
-
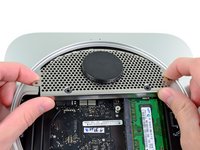
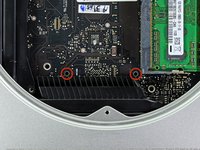
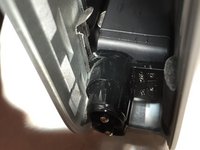
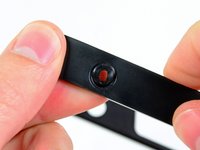
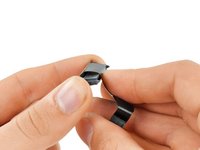
卸下下列固定天线板的螺丝。
-
两颗6.6 mm T8 Torx 螺丝。
-
两颗5.0 mm T8 Torx螺丝或者2.0 mm Hex screws 任意一把螺丝刀都会起作用。
-
当装回的时候:
-
-
-
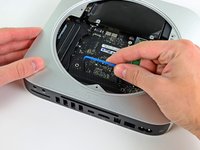
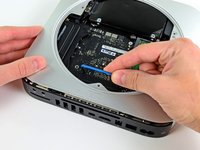
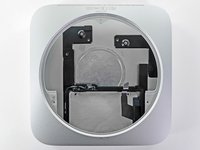
在这个步骤中使用的工具:Mac mini Logic Board Removal Tool$4.99
-
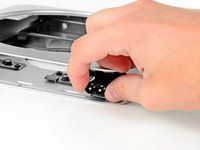
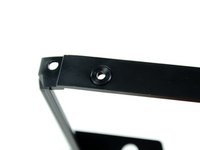
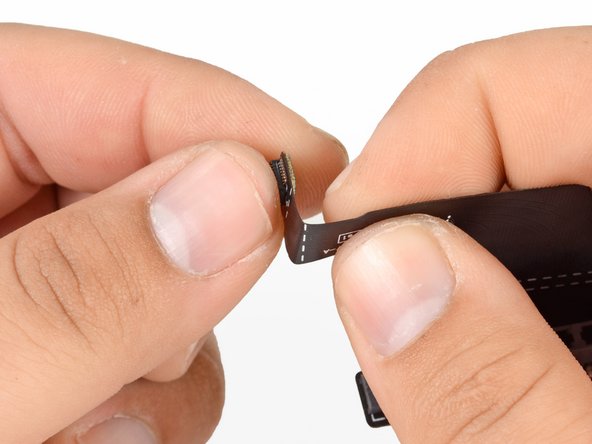
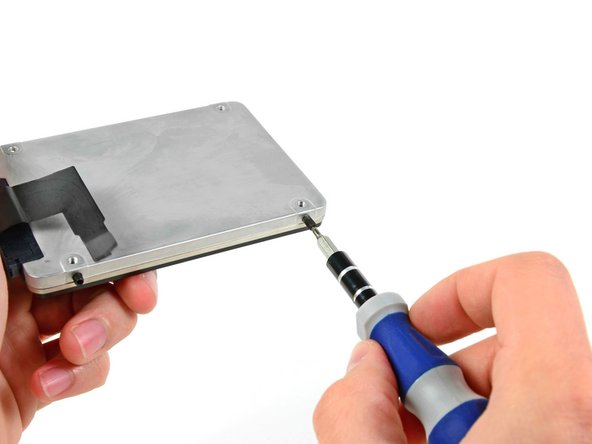
将Mac Mini 逻辑板拆卸工具插入红色圆圈的两个孔中。 在继续之前,确保它与逻辑板下面的外壳的顶部接触。
-
小心地将工具拉向I / O板。 逻辑板和I / O板组件应稍微从外壳中滑出。
-
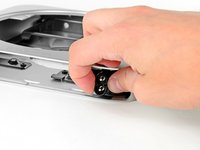
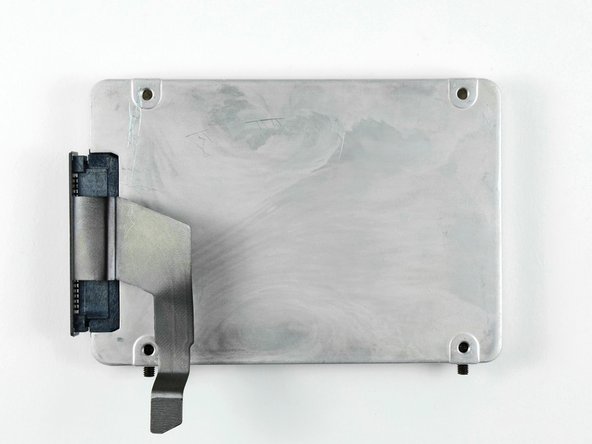
取下Mac Mini 逻辑板拆卸工具。
-


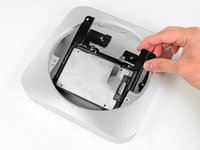


要重新组装您的设备,请按照本指南的相反顺序进行操作。
734等其他人完成本指南。


69指南评论
In my system the only way to get an SSD drive (OCZ Agility 3 120G) to work was to install it to the first SATA interface and the original HD to the second SATA interface.
I tried first as said in this guide, but the whole system got very unstable, the SSD was basicly unusable with lots of read errors, kernel panics etc...
After switch everything went smoothly. I cloned the original system to the new SSD with Carbon Copy Cloner, selected the SSD to be the startup disk and rebooted, Now the SSD is primary drive (with huge difference in speed, some 340/300 read/write) and the original 1T HD is secondary drive hosting my iTunes, iMovie and iPhoto archives.
I have a late-2012 MacMini which came with 4GB RAM + 1 TB HDD. The RAM has been upgraded to 12GB. I upgraded the MacOSX to Catalina 10.15 but seems I am having some problems with it. I now want to replace the original 1 TH HDD with a 480GB SSD (and use it as system disk) and also add a second 1TB SSD as a storage disk. And finally re-install MacOSX High Sierra or the later OSX and get rid of Catalina. What would be your advice to place which SSD into which bay? Thank you!
MAFAKY -
The iFixit SATA cable does not work with the OCZ Vertex 4 drive using OS X 10.8. I tried both the "upper" and "lower" ports, neither work. Using the Apple supplied SATA cable, the drive works in both ports. Using the iFixit cable with the Apple supplied HDD drive works. Using the iFixit cable, the OCZ drive is detected using the OCZ Mac boot tools. It's just OS X 10.8 that can not see the drive when using the iFixit cable. I've contacted OCZ support.
(Same as Patrick noted above) If you are adding a new SSD to your factory 1TB HD using iFixit's Mac mini HD kit, SWAP the drive positions—so that the SSD is in the original slot connected Apple's SATA cable and the original HD is now in the other bay using iFixit's cable. This issue affects only late-2012 Mac minis that come with a mini-specific build of OS X 10.8.2.