你所需要的
-
-
使用镊子,移除塑料塞子。
-
一旦隐藏的螺丝出现了之后,使用 PH #00 螺丝刀移除3个 3.175 mm的螺丝。
-
使用 PH #00 螺丝刀移除剩余的6个3.175 螺丝。
-
-
-
-
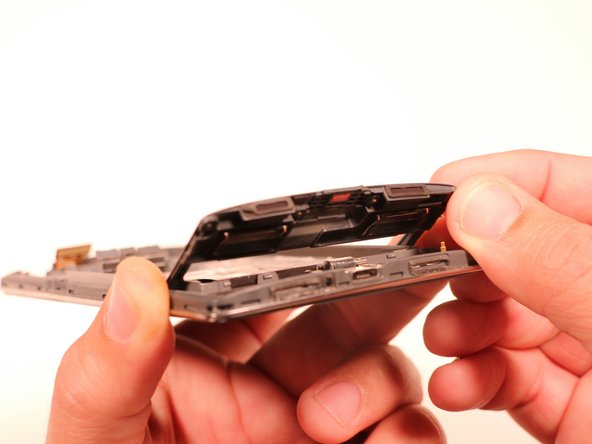
一旦取出电池,我们将注意力转移到后面板组件上。 这部件通过六个螺丝固定在一起。参 见下面的备注。
-
幸运的是,一加 一所有的螺丝尺寸相同,固定在主板上。 所有这些螺丝都是philips00和3.175毫米长
-
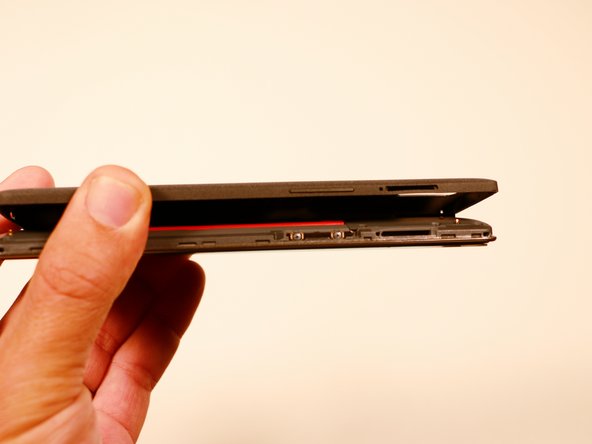
使用撬棒我们撬开面板组件,我们可以看到micro usb端口。 如果您愿意,也可以使用蓝色的打开工具。
-


要重新组装您的设备,请按照本指南的相反顺序进行操作。
要重新组装您的设备,请按照本指南的相反顺序进行操作。
32等其他人完成本指南。

团队

USF Tampa, Team 3-3, Brown Fall 2014 USF Tampa, Team 3-3, Brown Fall 2014 的会员
USFT-BROWN-F14S3G3
3 名成员
创作了20篇指南
4条评论
Thanks back up and working should get a few more years out of it
cheers
Pretty easy, just be really careful when removing battery from glue ;)
Thanks a lot for this guide which is really complete !
I was able to successfully follow these instructions. Pretty sure I damaged the battery during removal though. I intended to replace the battery anyways, so I’m not too worried about it, but it would be nice to to have some technique listed for removing it less destructively.
For me USB was not charging because it seems that one of the 2 USB plugs above the battery were loose. I did replace the battery already sometime far in the past so this might have been the cause. If you just want to re-plug on the upper side and lift the port on the lower side, you don't even need to remove the battery. Just make sure that all plugs, not just USB, are tight before screwing everything back together.
Thanks a lot for this guide!