简介
本指南将向您描述如何更换任天堂Switch Pro手柄的外壳。完成本指南的操作需要您做好一定的预防措施,因为其中的操作涉及到锂离子电池的拆卸。如果电池发生膨胀,请查阅该资源如何处理膨胀的电池.
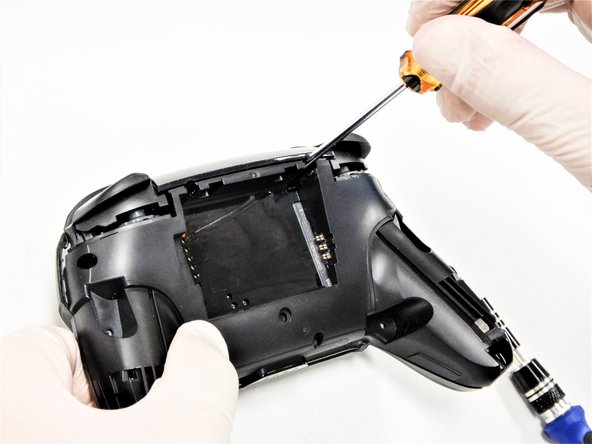
为正确地完成本指南,你必须特别小心地完成本指南中第8、9步,以避免对主板上的白色排线造成损坏。
你所需要的


若要重新组装设备,请倒序按照本指南操作。
若要重新组装设备,请倒序按照本指南操作。
18等其他人完成本指南。


团队

The Citadel Military College of South Carolina, Team S2-G9, Eggleston Fall 2020 The Citadel Military College of South Carolina, Team S2-G9, Eggleston Fall 2020 的会员
CMCSC-EGGLESTON-F20S2G9
3 名成员
创作了17篇指南
2条评论
I wondered why Xbox X controllers grips were difficult to remove and also make a squeak sound when the plastic part is not closing properly but a double-sided tape should do it...
Nicholin V - 回复
Disassembly was fine, but reassembly was a bit trickier. Removing the front casing from the chassis as in step 8 required a bit of force, since it seemed like the two were clipped together. Putting the two together, I can't seem to find where exactly that clipping connection was. I'd ignore it and move on to the screws, but it doesn't fit flush and I'm left with this narrow gap at the top that seems to be causing trouble. Any idea where I should be looking/applying pressure?