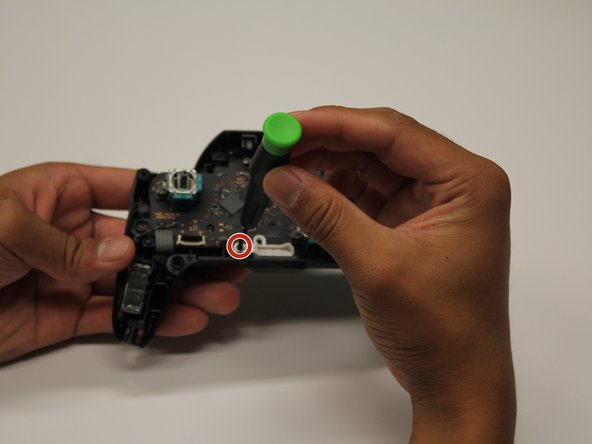
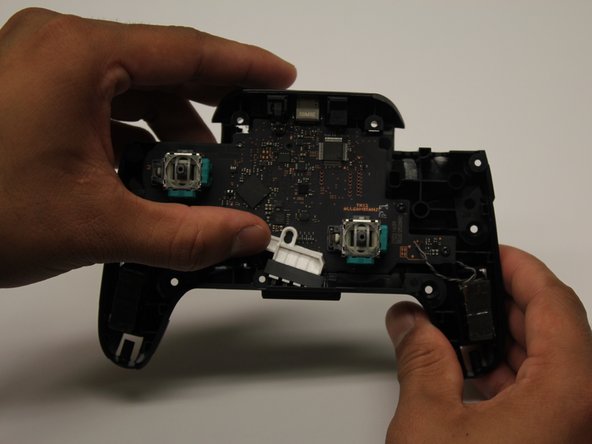
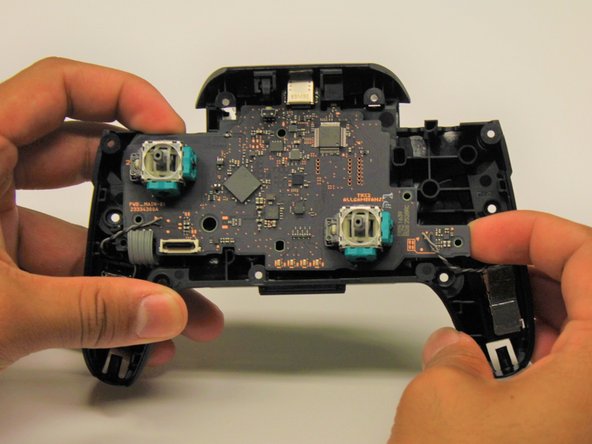
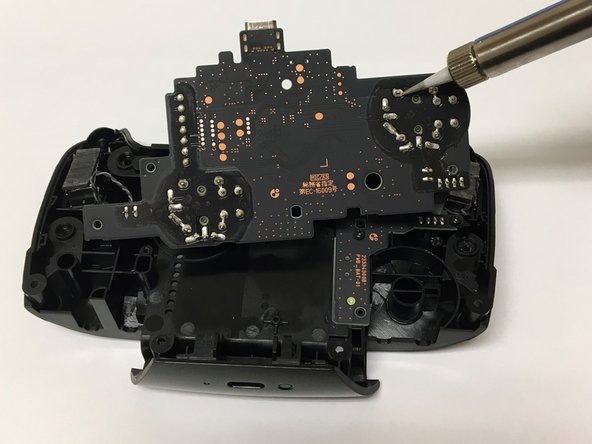
跳转到主内容

任天堂 Switch Pro 控制器操纵杆模块更换

你所需要的

  1. 任天堂  Switch Pro 控制器操纵杆模块更换, 拆卸螺丝: 步骤 1 中的图像 1,1
    • 将手柄翻转过来,使条码贴纸朝向天花板。

    • 使用JIS #00 螺丝刀卸下两颗位于手柄末端,用于固定手柄的黑色 8.4 毫米螺丝。

  2. 任天堂  Switch Pro 控制器操纵杆模块更换, 拆卸握把外壳: 步骤 2 中的图像 1,3 任天堂  Switch Pro 控制器操纵杆模块更换, 拆卸握把外壳: 步骤 2 中的图像 2,3 任天堂  Switch Pro 控制器操纵杆模块更换, 拆卸握把外壳: 步骤 2 中的图像 3,3
    • 将手柄蓋从主体上拉出,小心地卸下它们。

  3. 任天堂  Switch Pro 控制器操纵杆模块更换, 拆卸螺丝: 步骤 3 中的图像 1,1
    • 使用 JIS #00 螺丝刀,卸下四颗用于固定透明塑料后盖的6.8毫米银色螺丝。

  4. 任天堂  Switch Pro 控制器操纵杆模块更换, 撬开塑料盖: 步骤 4 中的图像 1,3 任天堂  Switch Pro 控制器操纵杆模块更换, 撬开塑料盖: 步骤 4 中的图像 2,3 任天堂  Switch Pro 控制器操纵杆模块更换, 撬开塑料盖: 步骤 4 中的图像 3,3
    • 用指甲小心撬开透明的塑料盖。

  5. 任天堂  Switch Pro 控制器操纵杆模块更换, 拆下透明塑料盖: 步骤 5 中的图像 1,1
    • 拆下透明的塑料后盖。

  6. 任天堂  Switch Pro 控制器操纵杆模块更换, 拆卸电池: 步骤 6 中的图像 1,3 任天堂  Switch Pro 控制器操纵杆模块更换, 拆卸电池: 步骤 6 中的图像 2,3 任天堂  Switch Pro 控制器操纵杆模块更换, 拆卸电池: 步骤 6 中的图像 3,3
    • 使用指甲或塑料撬棒,从如图所示的左侧撬起锂离子电池。

    • 只需轻轻地用力即可,请勿大力出奇迹。

  7. 任天堂  Switch Pro 控制器操纵杆模块更换, 游戏杆模块: 步骤 7 中的图像 1,2 任天堂  Switch Pro 控制器操纵杆模块更换, 游戏杆模块: 步骤 7 中的图像 2,2
    • 用菲利普斯#00螺丝刀卸下5颗 5mm 圆头螺丝。

  8. 任天堂  Switch Pro 控制器操纵杆模块更换: 步骤 8 中的图像 1,2 任天堂  Switch Pro 控制器操纵杆模块更换: 步骤 8 中的图像 2,2
    • 使用塑料撬棒小心地将前面板撬离机身。

    • 将塑料盖从控制器主体上拉开,将其分开。

    • 取下盖子时,避免用力过大,以免损坏白色带状电缆。

  9. 任天堂  Switch Pro 控制器操纵杆模块更换: 步骤 9 中的图像 1,3 任天堂  Switch Pro 控制器操纵杆模块更换: 步骤 9 中的图像 2,3 任天堂  Switch Pro 控制器操纵杆模块更换: 步骤 9 中的图像 3,3
    • 使用 iFixit 打开工具将 ZIF 接口上的锁定卡舌向上翻。

    • 小心地从接口上卸下带状电缆。

    • 仅需要很小的力即可卸下带状电缆。

  10. 任天堂  Switch Pro 控制器操纵杆模块更换: 步骤 10 中的图像 1,2 任天堂  Switch Pro 控制器操纵杆模块更换: 步骤 10 中的图像 2,2
    • 用力将两个操纵杆盖从控制器上拉下。

    • 此步骤不是必不可少的,但可以减少以下步骤的混乱情况。

  11. 任天堂  Switch Pro 控制器操纵杆模块更换: 步骤 11 中的图像 1,3 任天堂  Switch Pro 控制器操纵杆模块更换: 步骤 11 中的图像 2,3 任天堂  Switch Pro 控制器操纵杆模块更换: 步骤 11 中的图像 3,3
    • 用菲利普斯#00螺丝刀卸下5毫米圆头螺丝。

    • 用指甲将LED灯从其插槽中撬出。

    • 用相应的螺钉将 LED 灯放在一边,以便重新组装。

  12. 任天堂  Switch Pro 控制器操纵杆模块更换: 步骤 12 中的图像 1,3 任天堂  Switch Pro 控制器操纵杆模块更换: 步骤 12 中的图像 2,3 任天堂  Switch Pro 控制器操纵杆模块更换: 步骤 12 中的图像 3,3
    • 用菲利普斯#00螺丝刀卸下三个黑色的5mm圆头螺丝。

    • 轻轻拉动右下角,从机箱上松开电路板。

    • 提起电路板以露出其背面。

    • 抬起电路板时,避免用力过大,以免损坏电线。

  13. 任天堂  Switch Pro 控制器操纵杆模块更换: 步骤 13 中的图像 1,2 任天堂  Switch Pro 控制器操纵杆模块更换: 步骤 13 中的图像 2,2
    • 转到电路板的背面,以清楚触及焊点。

    • 脱焊所有概述的焊点。

    • 从电路板上卸下操纵杆模块。

    • 如有必要,请参考以下焊料指南:如何进行焊接和拆焊

结论

要重新组装设备,请按照逆序进行操作。

36等其他人完成本指南。

由衷感谢以下译者:

en zh

100%

这些译者帮助我们修补全世界! 您也想加入吗?
开始翻译 ›

Daniel Tagalog

于10/10/19注册

1,592 声望

创作了3篇指南

团队

Cal Poly, Team S11-G2, Regan Fall 2019 Cal Poly, Team S11-G2, Regan Fall 2019 的会员

CPSU-REGAN-F19S11G2

5 名成员

创作了42篇指南

24条评论

I managed to replace mine with much difficulty with the soldering but the stick does not seem to turn fully anymore, both with the replacement and the original. For reference, when I go to test it, it no longer registers as reaching the outer circle when pressed all the way down. Similarly when I go to calibrate it, it only reaches up til about the 2nd outer circle, not enough to actually trigger the green arrow. Since this seems to occur on both the replacement and original stick now, I’m guessing this must be some issue that arose while I was struggling with the desoldering process. Anybody have any ideas what might be causing my issue? Have I just damaged it beyond repair?

Tyler - 回复

Without pictures it is impossible to tell, but there is the possibility that you strips the metal connection on the solder point. This is fixable by “bridging” the connection. You will want to find schematics of the wiring for the PCB and then solder the wire over to the next connection.

As a side note, I should mention that I have never tried this on a controller of any sort and that I have only used this method on keyboards with single wire connections. It is possible that the connection in a controller PCB have more going on and that this technique will not work.

Gavin A -

I have the same problem, I buy 2 joystick module from iFixit and the two gave me the same issue, the joystick module don't reach the green arrow.

I can't calibrate because of that issue.

Any ideas?

Piero Grasso -

I have also had the same issue with replacement, only reaches roughly 75%. I contacted ifixit and they sent me a replacement thinking it might be a faulty pot, I installed the new stick and have the same issue. Maybe different years used different resistance.

marcos aguilera -

See my answer a bit down. I think it has to do with the resistance of the module. I had the same issue with the part I received from iFixit, the original part has a resistance of 1150 ohm, but the replacement is 1600 ohm. And I have a different module which is about 500 ohm, and that works just fine.

Peter de Bruine -

添加评论

浏览统计数据:

过去 24 小时: 36

过去 7 天: 417

过去 30 天: 1,842

总计 106,525