简介
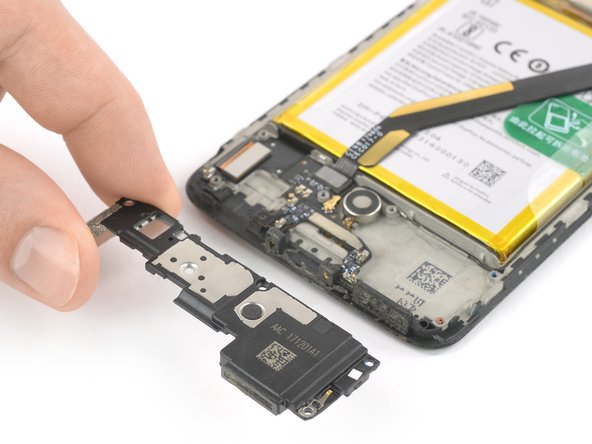
使用本指南在一加 5T中卸下或更换扬声器。
你所需要的
-
-
卸下两颗Torx T2螺钉(长度为2.5毫米)。
-
一加 5T不需要使用很多粘合剂来固定底盖,但是夹扣非常坚固,在打开过程中需要一定的力。
Could you clarify the statement “The OnePlus 5T doesn't use a lot of adhesive“? Do you mean that it uses adhesive, but only a little? Or do you mean that it doesn’t use any adhesive at all to secure the back, just the clamps?
Hi Avram,
there is a little bit of adhesive underneath the edges of the back cover, however it doesn’t require heating to soften it. In case the back cover doesn’t come of straight away it won’t help to apply an iOpener to further soften the adhesive but requires a little bit more force to open the plastic clamps.
i have tried t2 srewdrivers multiple times but they doesn’t seem work, could those be different screws?
I had the same problem. I tried a T1 screwdriver, that fit perfectly.
That said, the 'tools' section of this repair doesn't mention any torx screwdriver. That should be updated to include the T2 (or T1, for me!) screwdriver.
Akka -
I purchased the entire kit to do my battery replacement and found the opening tool was not capable of opening my One Plus 5t phone. I tried the tool for at least 30 minutes and couldn’t even get it started. Luckily I had a set of “plastic tools” for removing door panels from cars while doing stereo work. These tools have nice sharp points and are much longer and thicker, providing much better grip and leverage. With these tools, I had the back off the phone in just a few minutes. All the rest of the process was easy to follow and everything worked out great.
David Dery - 回复
I have all of the necessary parts/tools for replacement. Upon removing the two screws from the bottom, one came out no problem first try. The second bolt slipped andbis now completely stripped out. Any advice?
-
-
-
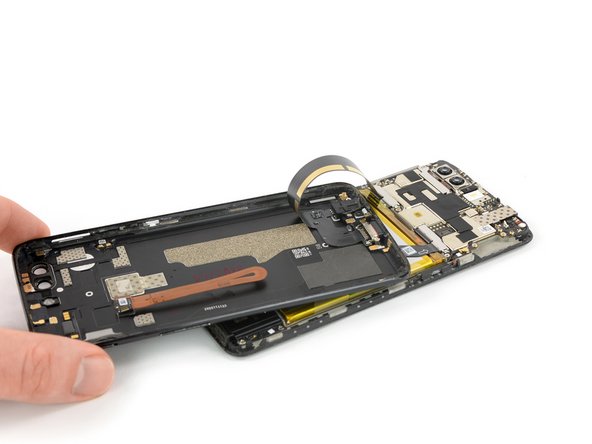
在显示屏和手机底端的后盖之间插入打开工具。
-
使用打开工具在后盖和显示屏之间形成间隙。
-
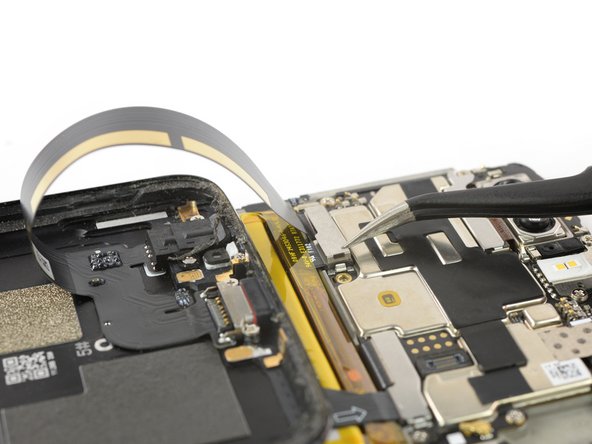
在用开口工具创建的间隙中插入三角撬片。
Don’t make the same mistake as i did and put the opening tool between the screen and glass rather than the screen and body. Make sure its the second line from the top where you insert your tool
I too had troubles with this step. I recommend having a look at the guide for opening up the back cover of the Oneplus 5 before proceeding. It has a lot of helpful images and the instructions go into far more detail than this one does.
Iceblade02 - 回复
This step was the hardest step for me. I could only succeed with suction cup pliers and a metal pry tool, which unfortunately scratched the device’s edges a little.
I found this hard. Look carefully and use a bright light. There are two small ridges. I worked ages on the top one which isn't actually a gap. You need to work on the bottom one of the two. I used a very small metal screw driver with a thin flat blade. I pushed this in to open the gap a fraction then put a plastic tool in the now slightly opened gap and worked it round.
For opening up the device, 一加5的后盖更换 that Iceblade02 mentions is excellent. The tools in the kit also correspond to it since the new kit that I received last week had no guitar picks and instead had the suction cup.
Be sure you are getting below the screen's LOWER lip, as in the photo, as HaydenRooney mentions.
Try to minimize flexing of the screen when you are wedging, the clamps (like snaps or tabs) will demand force and you want to avoid turning that into screen flex. There are several forum posts here about device working-but-dark after a repair. Too bad user input is rather folded away on ifixit, and few will see these.
-
-


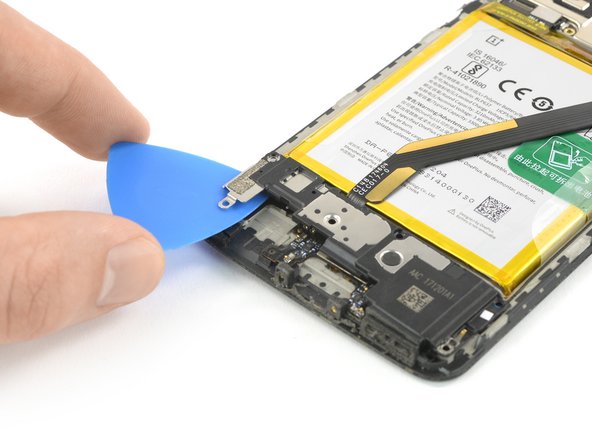


请按逆序重组你的设备。在使用酒精清洁相关区域后,请涂抹新的粘合剂。
请把电子废料带到 R2 或e-Stewards 认证的回收商。
请按逆序重组你的设备。在使用酒精清洁相关区域后,请涂抹新的粘合剂。
请把电子废料带到 R2 或e-Stewards 认证的回收商。
2等其他人完成本指南。


2条评论
Following water damage the loudspeaker stopped working. I changed it out (twice) and the flex cable but still not working. Any ideas?
did you ever find a solution to this issue?